

Last summer we added a small stone patio area around our chiminea in one of the corners of our backyard. We have really started enjoying and using this corner more and I have been looking for ways to make it look nicer as well as add more seating. We have two large trees in our backyard (creating a lot of shade) and clay type soil, so it makes it pretty difficult for dressing up the bottom of the trees with plants.
I was excited to come across some instructions for a tree bench, on This Old House. The perfect solution for what we were needing (ok, maybe "wanting" is more truthful). Since the weather was soooo nice this past weekend, I was able to talk my family into helping me accomplish this project! Even though the house is a wreck, due to remodel and repair projects going on inside (you can check out or small bathroom remodel here), I just couldn't pass up spending time outside with the family and what better way to do that than working on a project together?! (although my family would beg to differ) Projects like this definitely builds patience and character. :)

Here is a "Before" photo of the bottom of our large oak tree.

Here is my family hard at work.
Yes, my daughter is playing with a bug and my son is walking the planks. :)

We borrowed a miter saw from a friend and I loved using it! My daughter also insisted on trying it.
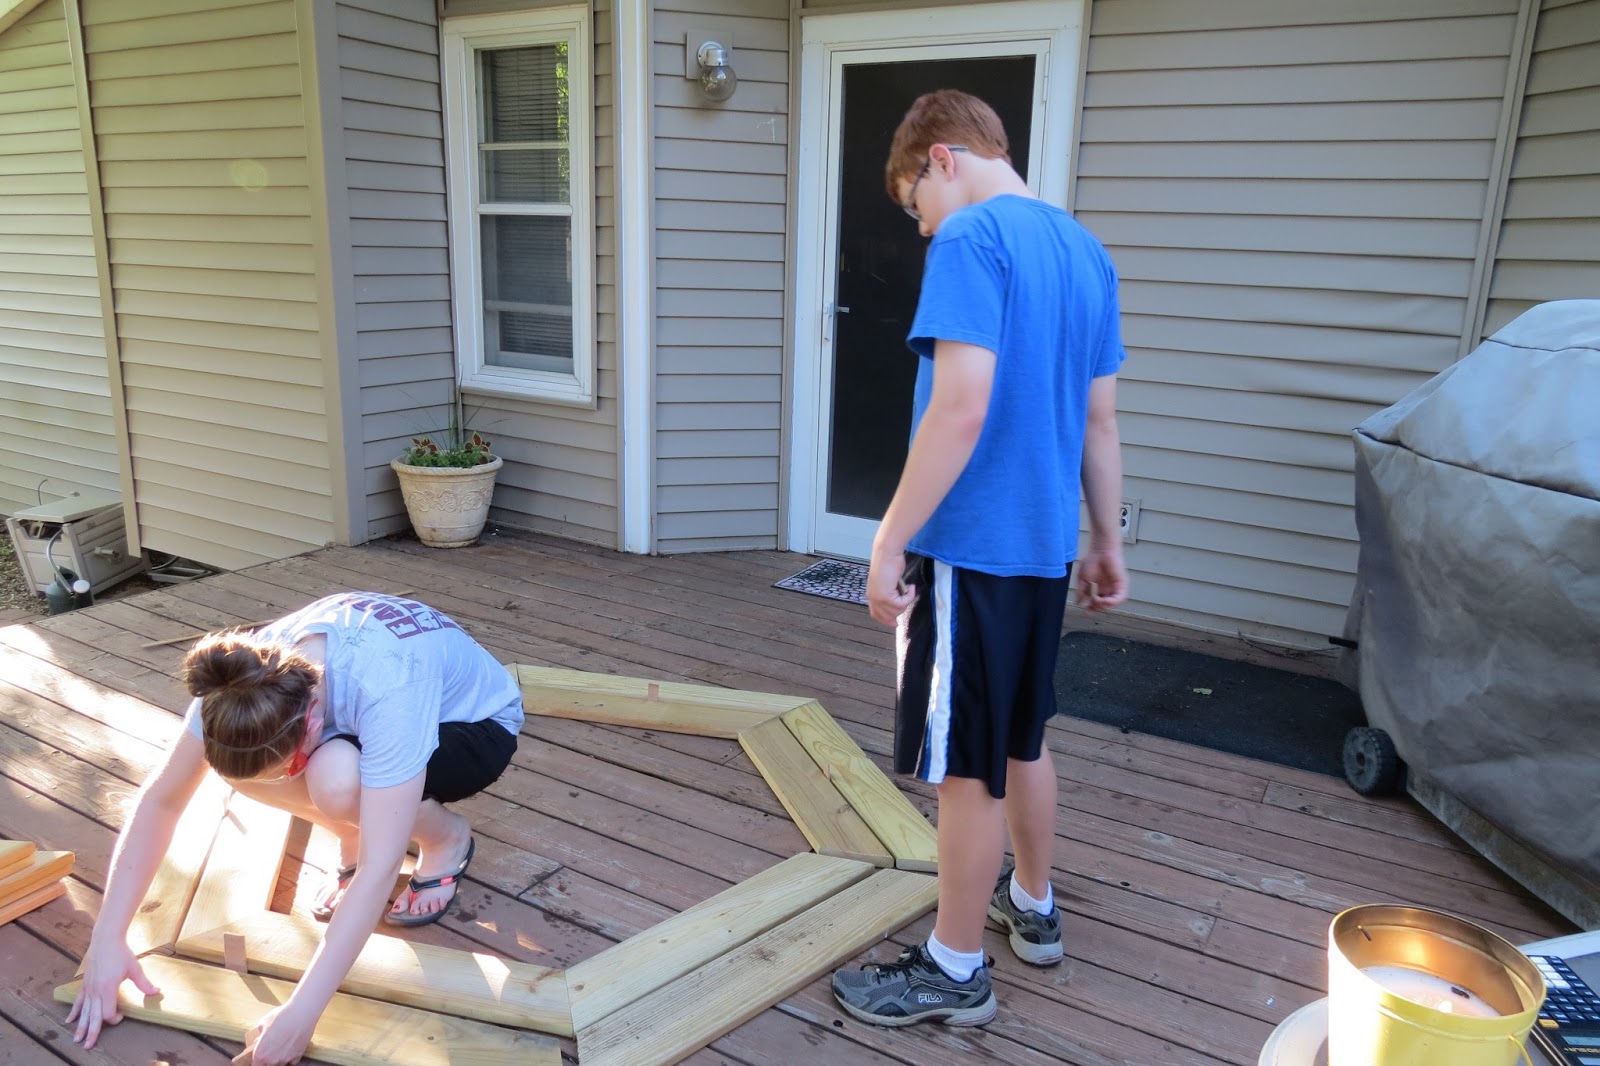
Here is my daughter laying out all of the boards, to make sure things are fitting together,
while my son supervises.

Here it is all cut and they all fit together nicely, at least at this point. :)

Here we are working on putting the legs of the bench together.

The legs are done and we spaced them around the tree to make sure we were able to avoid roots.
If I would have been paying closer attention, I could have flipped this one leg around, to
make a capital "F" for family project.

This part was the most time consuming and frustrating part, getting everything to line up!
We got it pretty close, screwed together two sections, carried it out to the tree and then
finished putting it together.

Once we got it around the tree and positioned it to miss all of the roots, there was one side
that is a little whopperjawed, so there was more measuring and cutting that needed done, but
we got it figured out. Now I just need to stain/treat it and it will be ready to use! I have a lot
of limestone that I am thinking about putting around the bottom of the bench and for color plan
on adding planters with flowers in a couple of areas on top of the bench.
If we can do it, you can too!
No comments:
Post a Comment